Carburetor Assembly
SAFETY FIRST: Protective gloves and eyewear are recommended at this point.
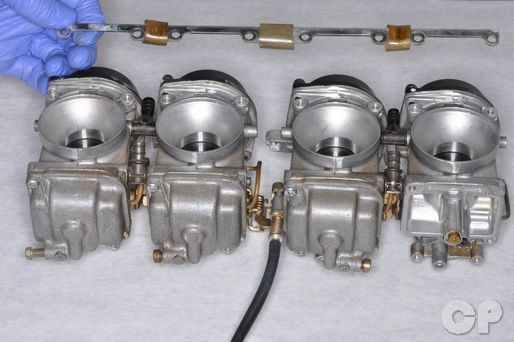
Joining
Fit the rubber fuel seals into the carburetors.


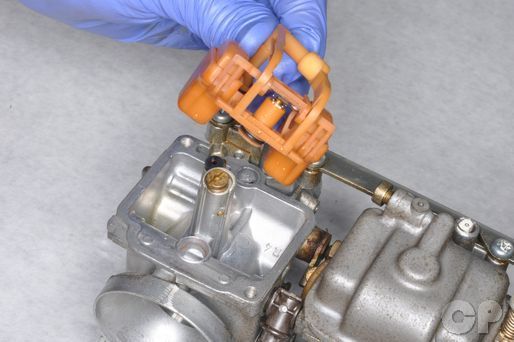
As the air vent and fuel line connectors join the carburetors together fit the throttle shafts together.
On the 1988 - 1989 Katana 600 models install the fuel lines between the carburetors and secure them with clamps.


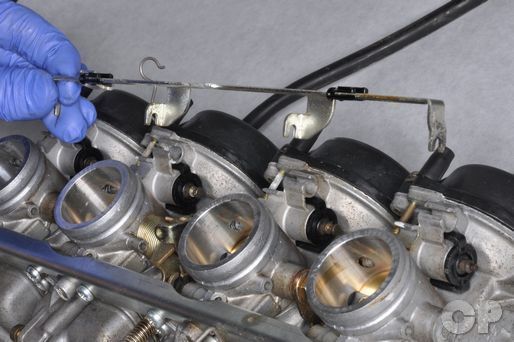
Apply a small amount of the blue Loctite to the threads of the set plate screws.
Install the upper set plate and tighten its screws securely with a #2 Phillips screwdriver.


Install the lower set plate and idle adjuster stay. Tighten the screws securely with a #2 Phillips screwdriver.
Throttle Valve
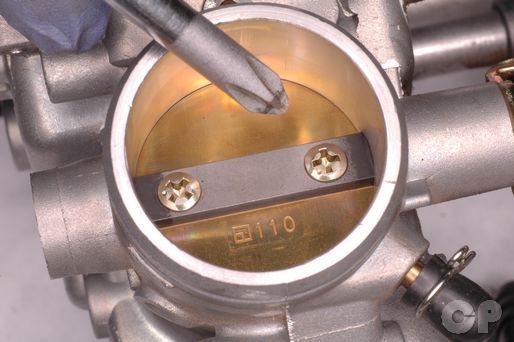
If the throttle valve was removed install it to its shaft so that the stamped side faces out. Adjust the idle adjuster and synchronizing screws so that the bottom of the valve lines up with the first bypass port. Coat the threads of the throttle valve screws in non-permanent Loctite. Tighten the screws securely with a #2 Phillips screwdriver.
Pilot Screw
Take care when installing the carburetor pilot screw and jets. These parts are soft and can be easily damaged.


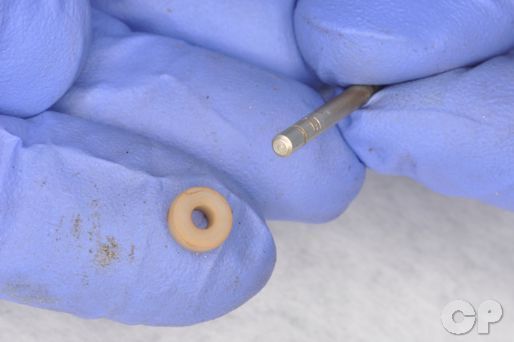
Install the pilot screw O-ring (new), washer, spring and screw in that order. Turn the screw in all the way until it seats lightly and then back it out to its original position.
Float Bowl and Jets
The main air jet is located on the mouth of the carburetor on the 750 and the 1990 - 1997 600 Katana models. On the 1988 - 1989 Katana 600 models the main air jet sits in the top of the carburetor under the diaphragm.


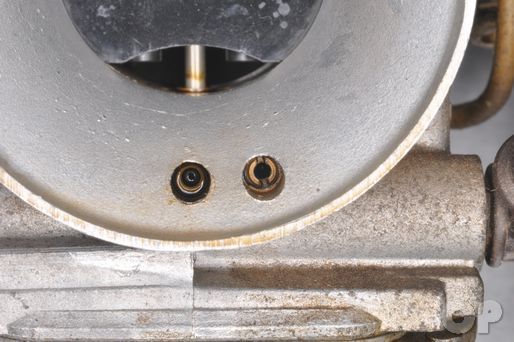
Install the pilot air jet into the carburetor with a small flat blade screwdriver.


Insert the needle jet into the carburetor from the top.


Install the pilot jet and snug it down with a flat blade screwdriver.


Install the plug over the pilot jet.
Install the needle jet into the carburetor from the top.


Install the main jet and tighten it with a flat blade screwdriver.
The 750 and the 1990 - 1997 600 Katana models have a single unit float and float valve that cannot be disassembled. Place a new O-rings on the float valve unit and install the float valve into the carburetor. Make sure the O-rings fit into the carburetor securely.
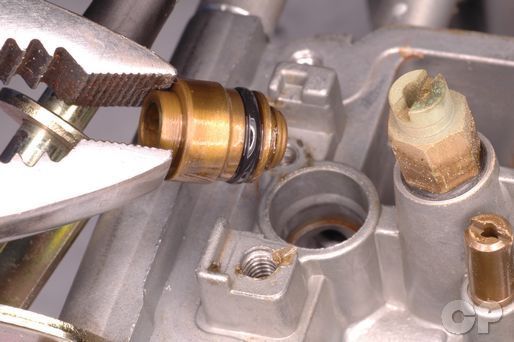
The float valve orifice is a separate piece on the 1988 - 1989 Katana 600 models. Place a new O-ring on the float valve orifice and insert the orifice into the carburetor.


Install the set screw and tighten it securely with a #2 Phillips screwdriver.


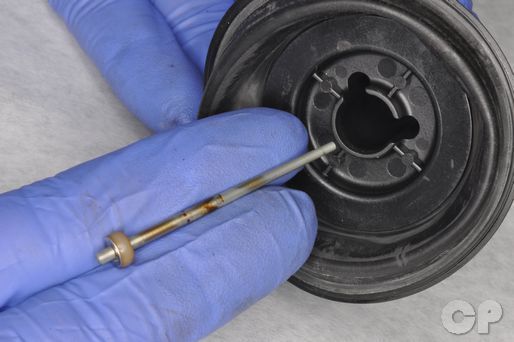
Place the float valve needle on the float tang.
Place the floats in the float bowl and guide the needle into its orifice.
Install the float pivot pin and set screw.
Recheck the float height.
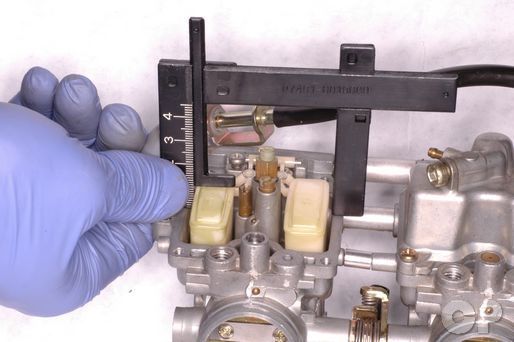
Check the float height with a float height gauge as shown in the above photo. The gauge should be even with the main jet. You can also use a machinists rule or caliper. Hold the carburetor so the float tang is resting on the spring loaded plunger in the float valve, but does not compress it. Measure the distance from the float bowl mating surface and the highest point on the float. Compare your reading with specification.
| Float height | 14.6 ± 1 mm (0.57 ± 0.04 in) |
If the float height is out of specification remove the float valve needle and bend the tang on the floats until the float height is within specification.
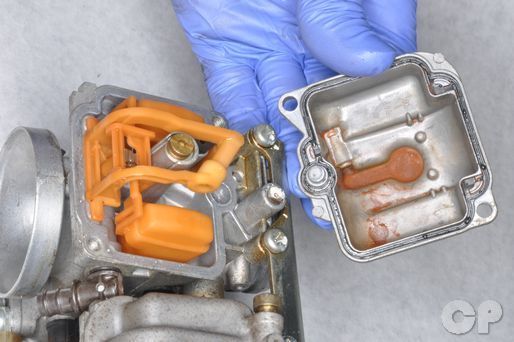


Place a new O-ring seal on the float bowl. Install the float bowl. If you have multiple carburetors apart make sure the drain screws on the float bowls face towards the nearest side of the frame.
Vacuum Piston and Jet Needle


Place the spacer and the clip on the to end of the needle.


Install the needle and spring seat into the piston.


Install the vacuum chamber O-ring.


Install the vacuum piston and diaphragm into the top of the carburetor. Make sure the diaphragm seals properly around the edge.


Install the spring into the piston valve. Install the diaphragm cap over the spring. Insert the cap screws and tighten them securely with a #2 Phillips. There are two screws on the 750 and 1990 - 1997 600 Katana models, and four screws on the 1988 - 1989 600 Katanas.
Choke
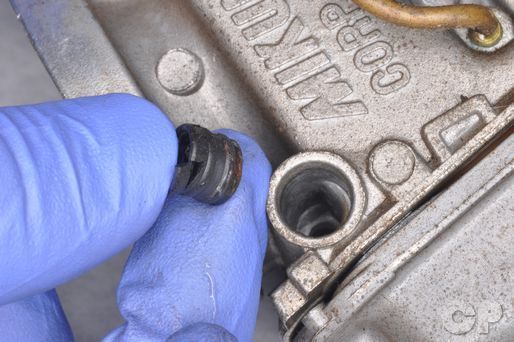
Note: The carburetors on the 1988 - 1989 Katana 600 are different from the others model. They early 600 carburetors do not have a cable actuated choke, but a plunger knob on the right side.


The choke is holder is threaded on the 1988 - 1989 Katana 600 models. Install the choke plunger. Use a 1/4 in drive thin walled 14 mm socket to tighten the choke plunger securely. Install new screws with the choke plunger knob. Apply blue Loctite to the threads of the screws and tighten them securely with a #2 Phillips screwdriver.


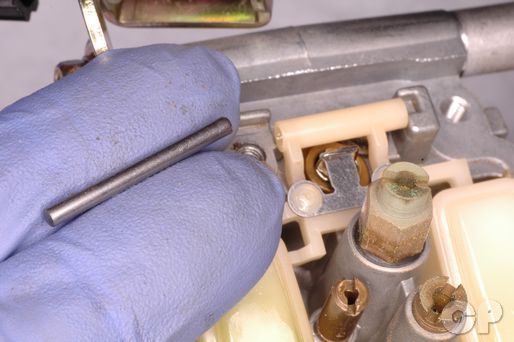
On the 750 and 1990 - 1997 600 Katana models insert the plunger into the carburetor and place the spring over the plunger.


Insert the choke holder over the plunger.
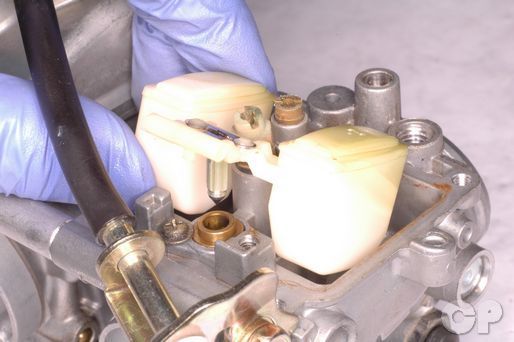
Fit the choke slide onto the plungers.


Push in the plastic clips to secure the choke slide.


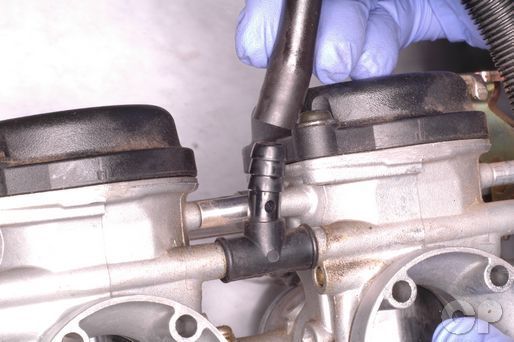
Connect the fuel line to the fuel rail pipe on the carburetors. Secure the hose with the clamp.
Install the two vent hoses onto the vent pipes on the carburetors.
To install the carburetor see the Carburetor Installation topic.
Copyright 2025 - Cyclepedia Press LLC

Note: If you are viewing this document offline be sure to visit the latest version online at http://www.cyclepedia.com before attempting any repairs. Updates are made without notice.